
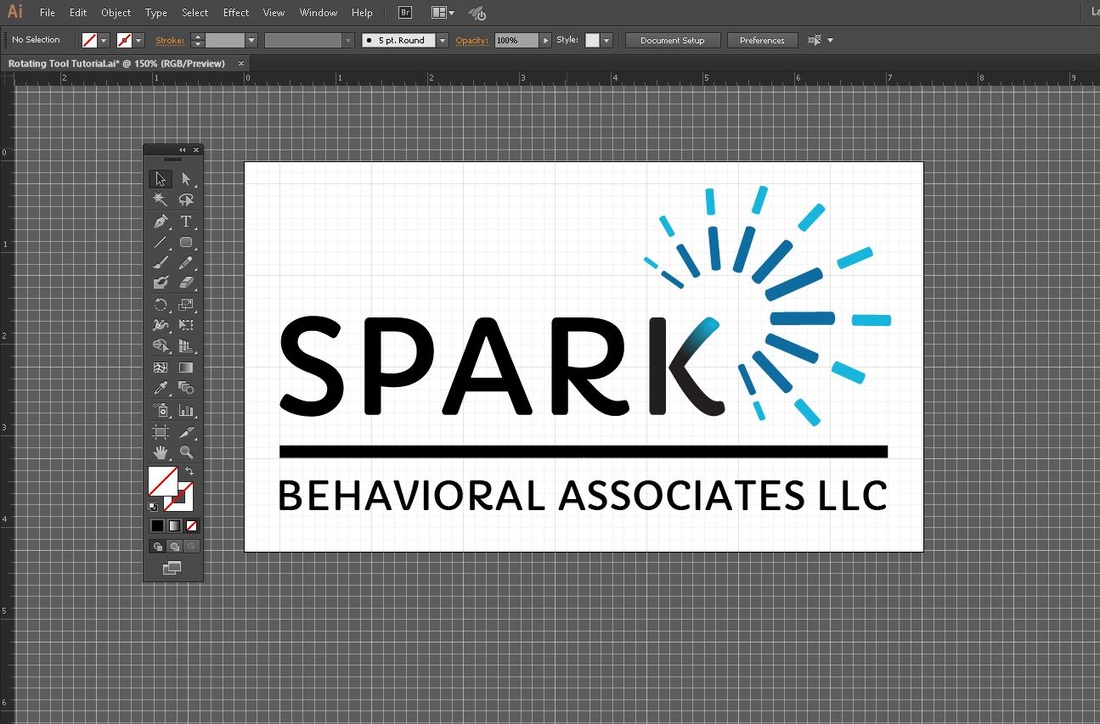
Fairly recently, I completed a design project for one of my clients, SPARK Behavioral Associates. This project consisted of a new logo and a business card. To achieve the blue spark graphic for the logo, I turned to my old trusty rotate tool.
In the tutorial below, I provided the steps I took to evenly rotate objects around a circle.
In the tutorial below, I provided the steps I took to evenly rotate objects around a circle.
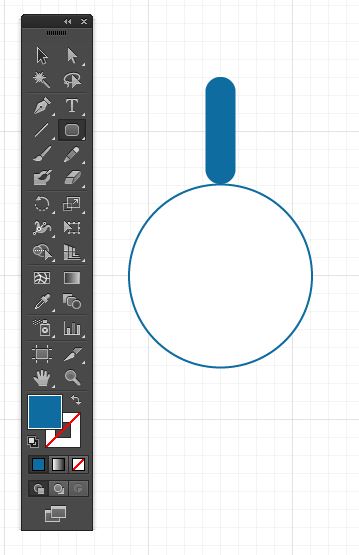 | Step 1: Creating the Shapes Open up a new document in Adobe Illustrator. In the tool bar, select the ellipse tool (L). While holding down the shift key, use your mouse to click and drag a perfect circle on your art board. After creating the circle, go back to the tool bar and click on the rounded rectangle tool to create a vertical beam. Position the vertical beam directly above the circle. Make sure the beam and circle are centered.
|


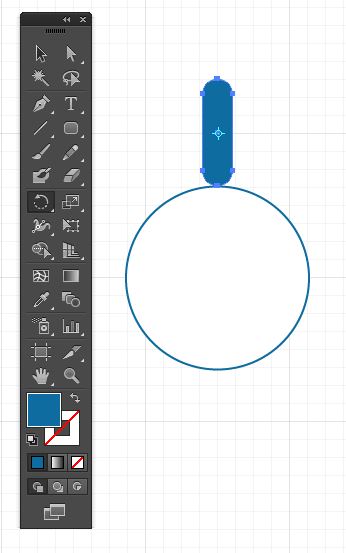 | Step 2: The Rotate Tool With the beam selected, click on the rotate tool (R) in the tool bar. Once the rotate tool is selected, you will notice a light blue cross in the middle of the beam.
|

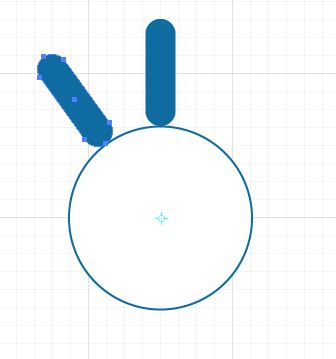
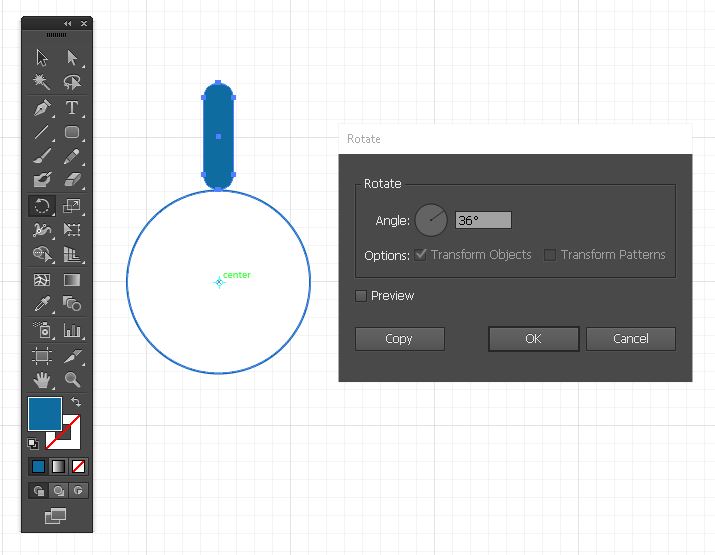 | Step 3: Positioning the Reference Point This is an important step! Make sure you hold down the Alt Key while hovering over the middle of the circle. Click the center of the circle. A light blue cross will appear in the center of the circle and a dialogue box will instantly pop up. Note: The light blue cross is your reference point. |
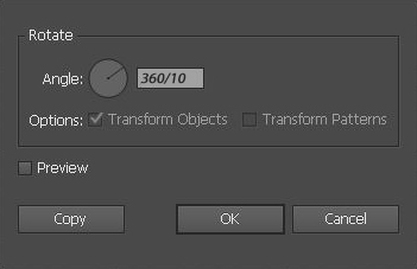 | Step 4: The Dialogue Box In the dialogue box, type in 360/10. This means that 10 beams will be distributed evenly around the circle. 360 referring to a perfect circle. Note: For this example I am using 10, but you could type in any number you'd like. With the dialogue box still open, make sure you Select Copy & NOT OK. |
After selecting Copy, an exact duplicate of the beam will appear right next to the original one.
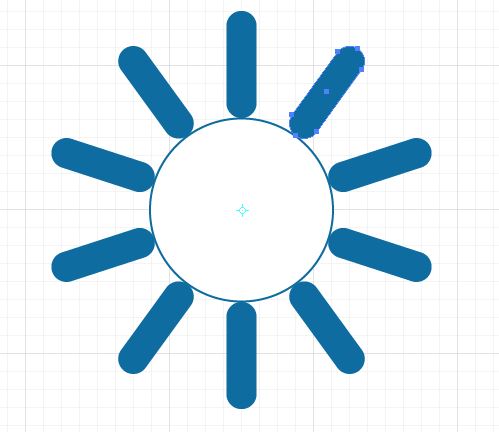 | Step 5: Duplicating the Object Now hit ctrl-D on the keyboard to make a copy of each beam around the circle. Keep hitting ctrl-D until the circle is completed. You have now completed a spark graphic! Thank you for reading my tutorial on the rotate tool. If you have any questions or comments, please leave them in the comments section below and I will get back to you asap! |

 RSS Feed